Settings Tab
Make the app look and work the way you like. Settings live in two places:
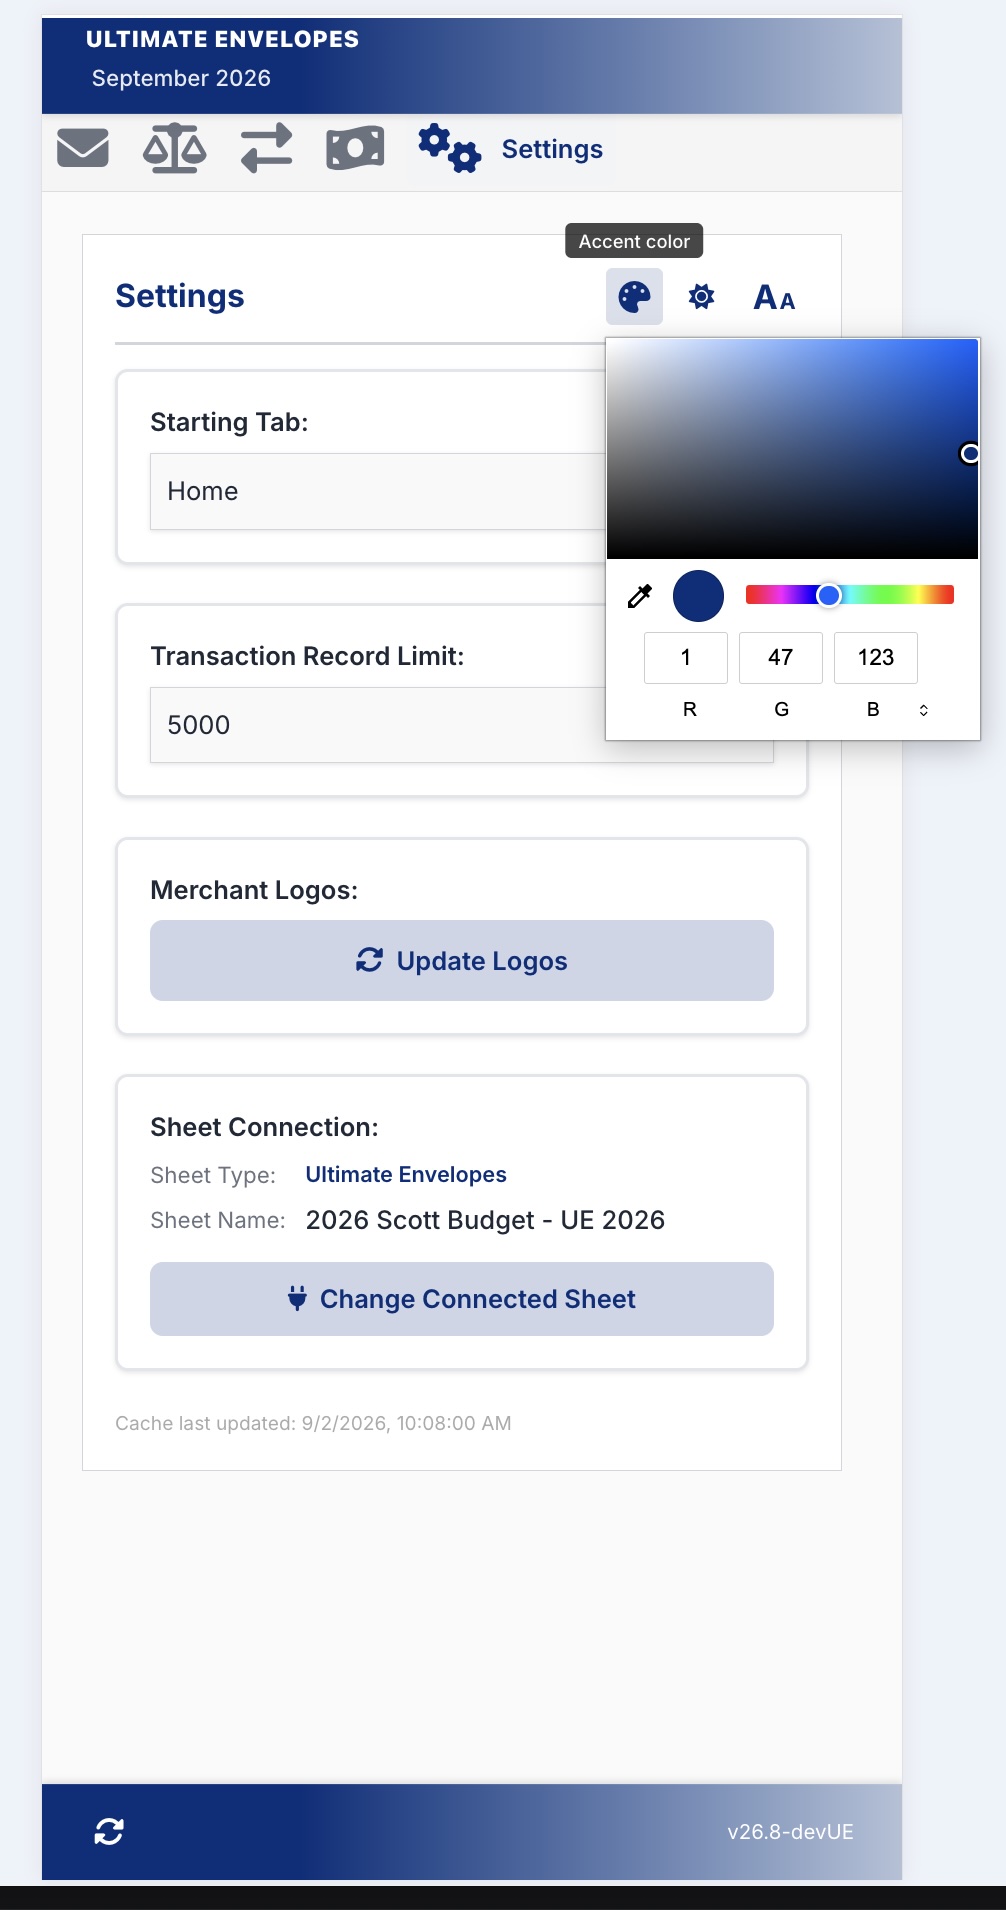
- The Settings tab (this page) for app-wide choices: colors, text size, which tab opens first, and your sheet connection.
- Each tab’s own settings for what that screen shows. Tap the tab again in the tab bar, then Settings. See Envelope Settings and Balance Settings.
App Settings
Tap Settings at the right end of the tab bar.
| Setting | What it does |
|---|---|
| Accent color | Tap the color swatch at the top to pick the color used for buttons and highlights. |
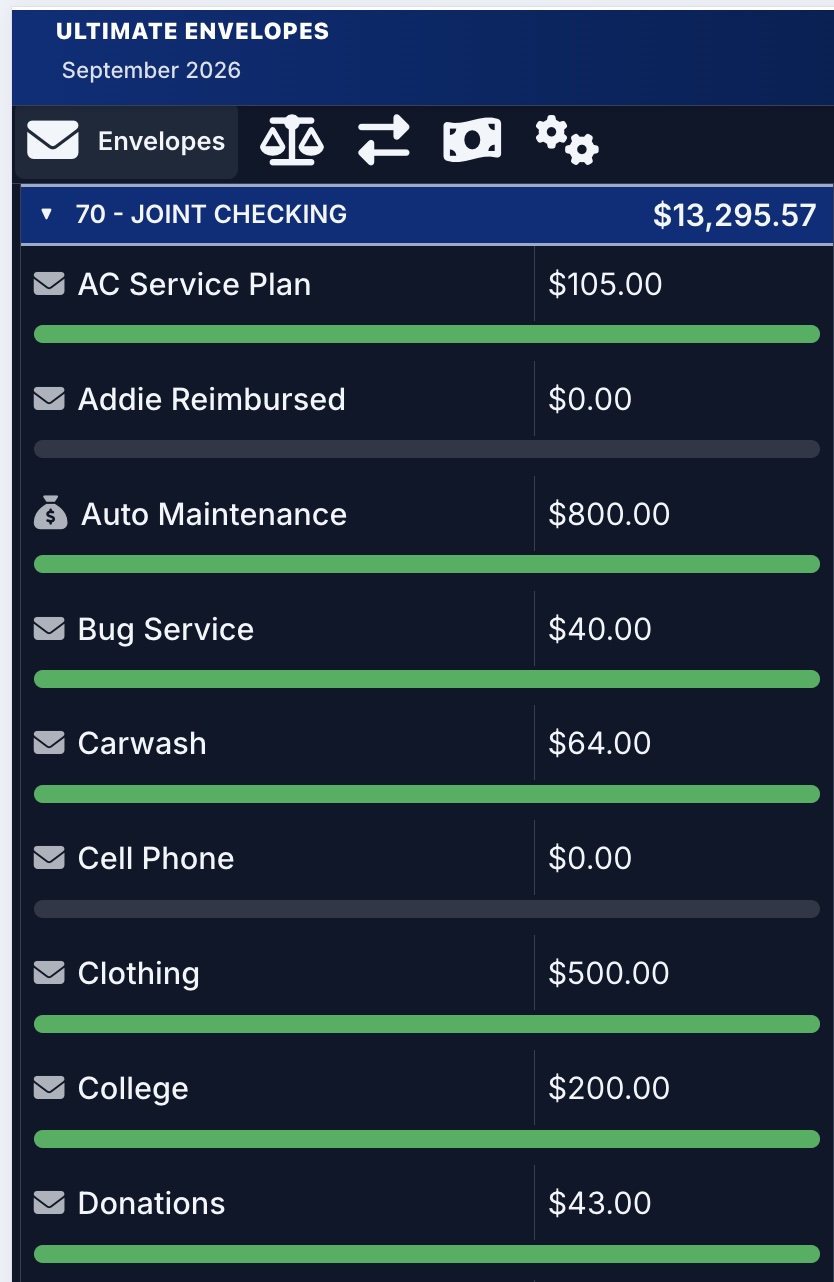
| Theme | Light Mode, Dark Mode, or System (follows your phone or computer’s setting and switches automatically). |
| Font size (the AA button) | Small, Default, Large, or Extra Large. |
| Starting Tab | The tab the app opens to: Home, Envelopes, Balances, Transactions, or Payday. |
| Transaction Record Limit | How many recent transactions the app loads: 1000, 2500, or 5000. Higher shows more history but loads more slowly. |
| Merchant Logos | Tap Update Logos to add logos for merchants that don’t have one yet. See Merchant Logos below. |
| Sheet Connection | Shows which sheet the app is connected to. Tap Change Connected Sheet to switch to a different one. |
These choices are saved with your app, so they’re the same on every device.
Merchant Logos
The app shows a logo next to transactions from merchants it recognizes. Teach it the ones it’s missing by matching each merchant to its website.
- On the Settings tab, tap Update Logos.
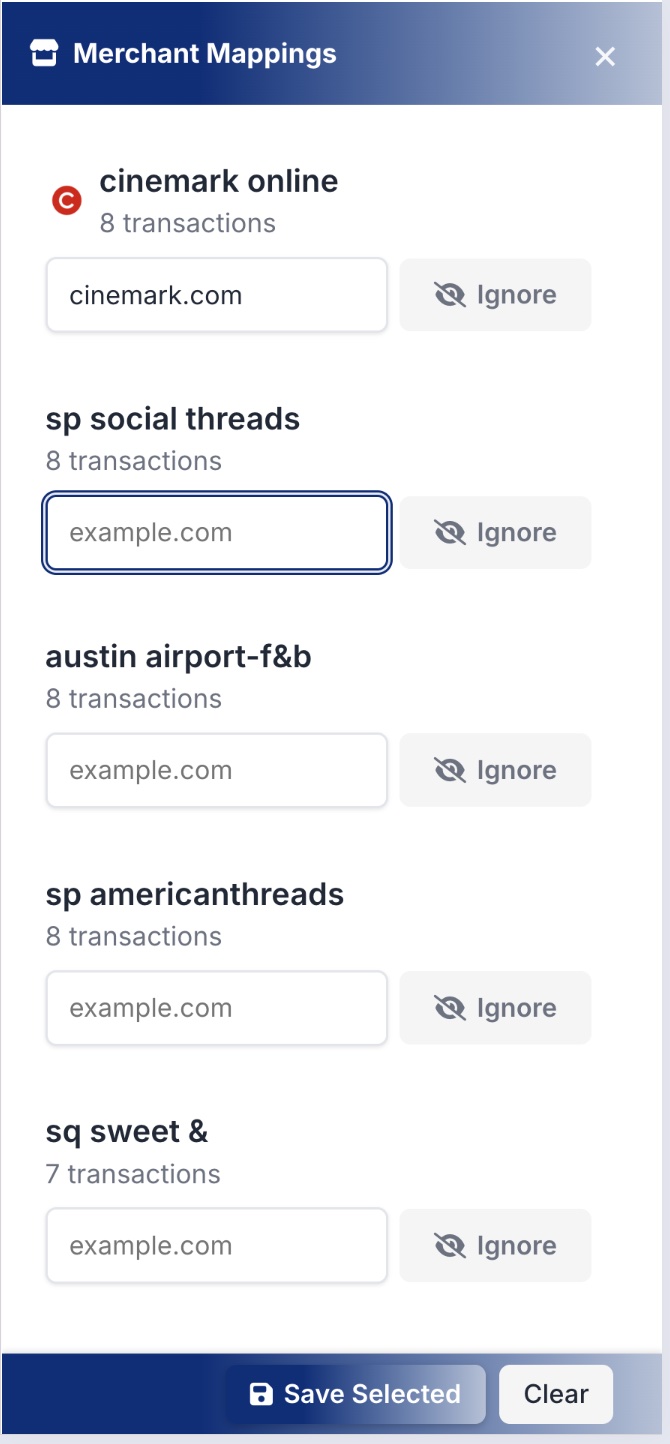
- The Merchant Mappings panel lists your most frequent merchants that don’t have a logo yet (up to 20, each with at least 2 transactions).
- For each merchant, either:
- Type its website (for example,
cinemark.com). The logo appears next to the name so you can check it’s right. - Tap Ignore for merchants that don’t need a logo. They won’t be suggested again.
- Type its website (for example,
- Tap Save Selected.
Don’t see a merchant in the list? Use Add Manual Entry at the top of the panel. Enter a word from the transaction description (for example, starbucks) and the website (starbucks.com), then tap Add.
- Clear empties the websites you’ve typed but haven’t saved. Ignored merchants stay ignored.
- Keywords need at least 3 characters, so they don’t match too many transactions.
- If you see No new merchants to add!, every frequent merchant already has a logo or has been ignored.
Your mappings are saved in a MerchantMappings tab in your budget sheet (columns: Keyword, Domain, Date Added). You can edit or delete rows there directly. To match several spellings to one logo, put them in one cell separated by commas.