Split Transaction (Coming Soon)
Splits one transaction into two or more line items, each with its own envelope/category and amount — useful when a single purchase (e.g. a Target run) covers more than one budget category.
New in v26.9.1.
Where to Find It
Option A — Split an Existing Transaction
- Open any transaction (tap/click it from the Transactions tab, or from an envelope’s or account’s transaction list).
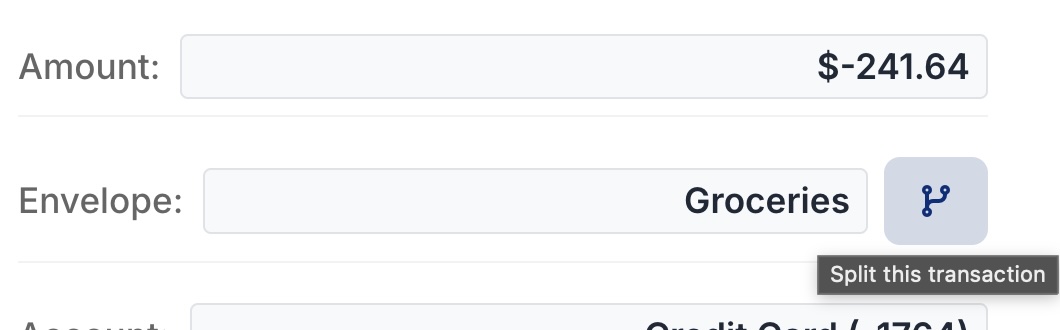
- Next to the Envelope field, tap the small branch icon (⑂).
- This opens the Split Transaction screen.
Option B — Split a Brand-New Transaction as You Add It
- Tap Add Transaction.
- Fill in Date, Amount, and Account.
- Once those three are filled in, the same branch icon (⑂) appears next to the Envelope field.
- Tap it — this saves the transaction and immediately opens the Split Transaction screen for it. You don’t need to pick an envelope first — you’ll assign one per split line next.

Note: Splitting isn’t available on funding transactions (transfers into envelopes) — only regular transactions.
Using the Split Transaction Screen
The top card shows the original transaction (description, date, amount, account) for reference.
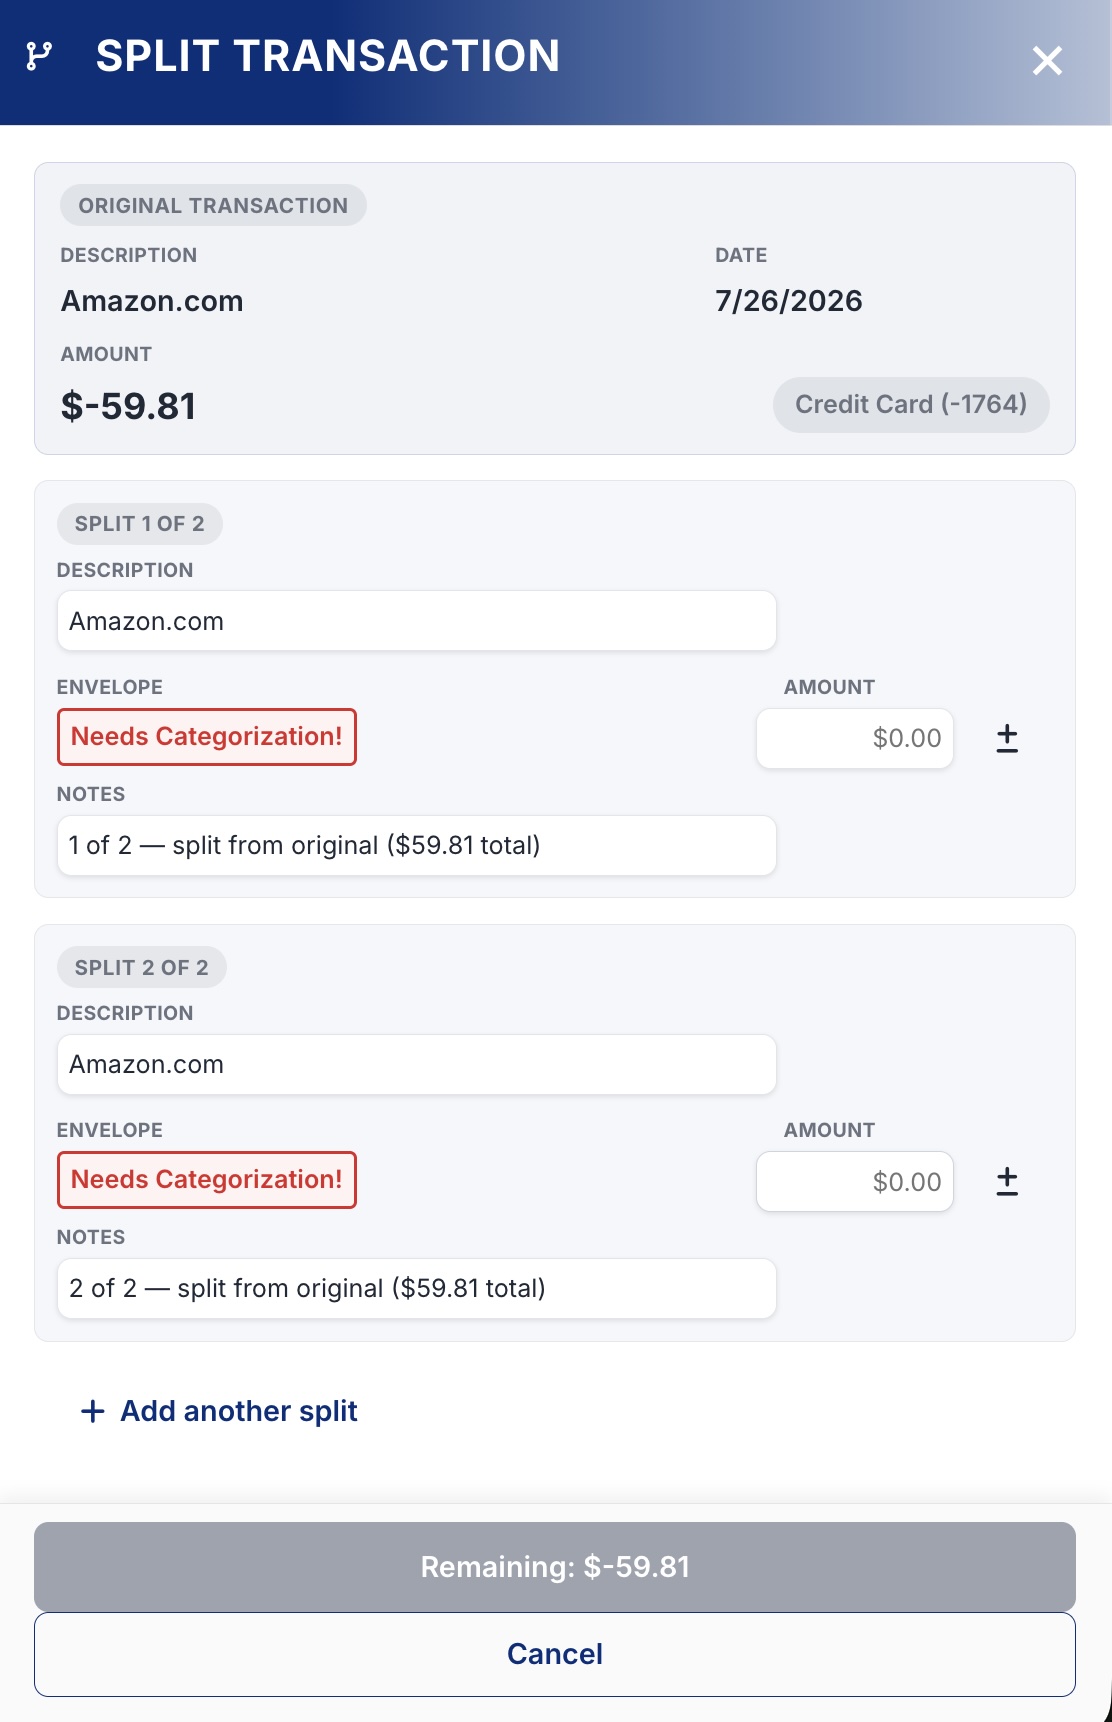
Below it, each split line has:
- Description — defaults to the original transaction’s description; edit if you want something different for that portion.
- Envelope — tap to pick a category, same picker used everywhere else in the app.
- Amount — enter the dollar amount for that line. Tap the +/− button if you need to flip its sign (most splits keep the same sign as the original — e.g. all negative for an expense).
- Notes (if your sheet has a Notes column) — auto-fills with a note like “1 of 2 — split from original ($45.67 total)” so it’s easy to trace back later; you can edit this if you want to add your own note too.
Tap + Add another split to add more lines — no fixed limit.
The Save button doubles as a running balance check — it shows “Remaining: $X.XX” and stays greyed out until your split amounts add up to exactly the original total, at which point it turns into an active Save Split button.

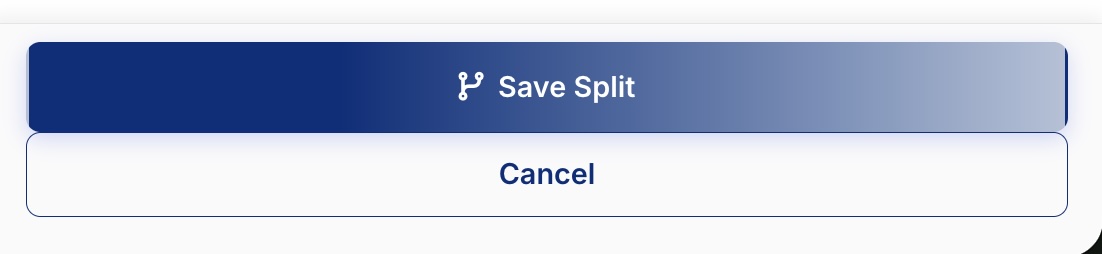
Cancel backs out without saving anything.
What Happens After You Save
- The original transaction becomes “Split 1” — it’s updated in place (same row, same Transaction ID), so nothing about it is deleted.
- The additional splits are inserted as new rows directly below the original, so the whole group stays together in the sheet.
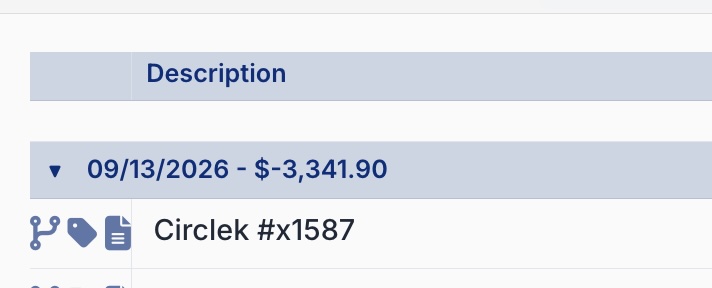
- Any transaction that’s part of a split shows a small branch icon in the Transactions list (same spot as the tag/notes icons) so it’s easy to spot at a glance.
Good to Know
- Split amounts must add up to the exact original amount — no rounding allowed.
- A split needs at least 2 line items.
- Works the same way on both the standard and Tiller-connected versions of the app.